If you are installing Media Management for use by POINT IN C.0, see Chapter 7, Media Management Installation for POINT IN C.0 before performing these steps.
This chapter contains the steps to install Media Management on a single server. Review the Pre-Installation Checklist before installing.
1 Verify that Document Production has been installed. In the Document Production installation folder do the following to generate the demo archives needed.
|
•
|
Browse to "mstrres\DOCPRINT\XMLDEMO" and run "BASE_INSTALL.BAT".
|
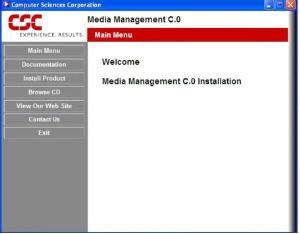
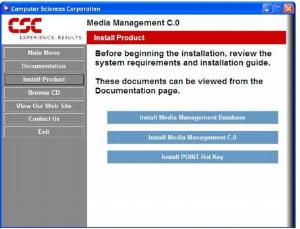
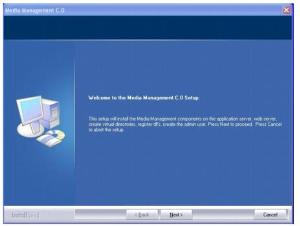
2 Insert the Media Management C.0 Installation CD-ROM. The CD-ROM should start automatically. If not, run setup.exe from the root of the CD-ROM.
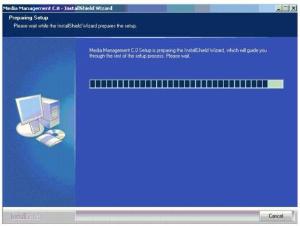
6 Wait until the window as shown in the above figure disappears or click Cancel to Exit Setup.
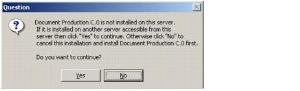
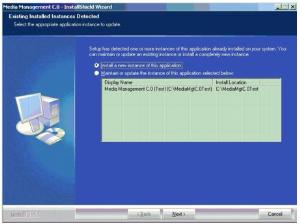
11 If the above alert appears, click Yes to continue or click No to abort installation and then first install Document Production C.0.
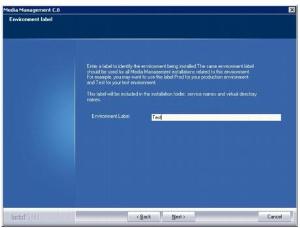


14 This is the folder where the Media Management files will be installed. To accept the default path, click Next to continue. To select a different path, click Browse, choose another path, then click Next to continue.
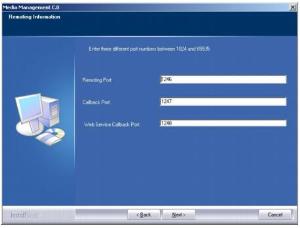
15 If necessary change the port numbers to used for remoting. Specify three different numbers between 1024 and 65535 that are not already being used on the server. Click Next to continue.
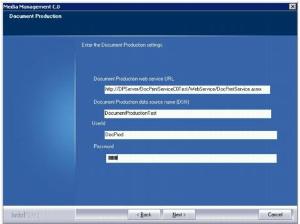
16 Enter the Document Production settings. The UserId and Password are for use with the data source name. Note the following:
You may want to verify the web service URL in your web browser before continuing. When you browse to this URL you should see a DocPrintService test page.
You may want to verify that the data source name is registered with ODBC. To do this, from the windows Start menu go to "Settings,Control Panel" and select "Administrative Tools". Start "Data Sources (ODBC)" and select the "System DSN" tab. Check this list for your data source name. If it does not appear then you will have to create it now or after installation.

17 Enter the name of the SQL Server where the Media Management databases are installed. The default name is the local machine. Click Next to continue.
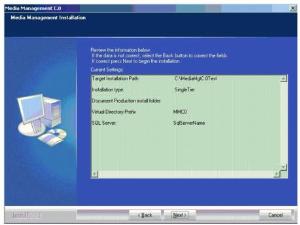
Click Next to continue.

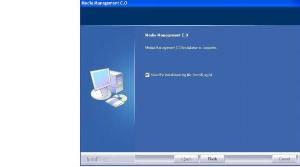
20 This screen allows you to review the installation log file. Click Finish to end the installation.
21 A screen named "Microsoft Visual J# 2.0 Redistributable Package Setup" may appear. If so then perform this installation if it has not already been done. If the screen only shows the Repair and Uninstall options then click Cancel since this installation has already been done.
22 To customize the installation to access your archives and repositories, refer to the Media Management Customization Guide.
